Browsing Category

What’s New

Boho Christmas Decor

It’s beginning to look a lot like Christmas at the Leahy’s. I just couldn’t wait any longer, I had to get my decor up. My family and I love Christmas so much and by having it up early, we get to enjoy it longer.

This year we’re in a new home, in a different state and have different furniture and vibe of the room. Do you remember it from last year? I can add a pic for of it down below.

I’ve been decorating a lot of boho and a little farm…. aka Farmhemien. I love the boho, minimalist vibes but had a lot of farmhouse decor from our California home. I kept some pieces, got rid of a lot of pieces, and have been having a blast hunting for a ton of boho style pieces.

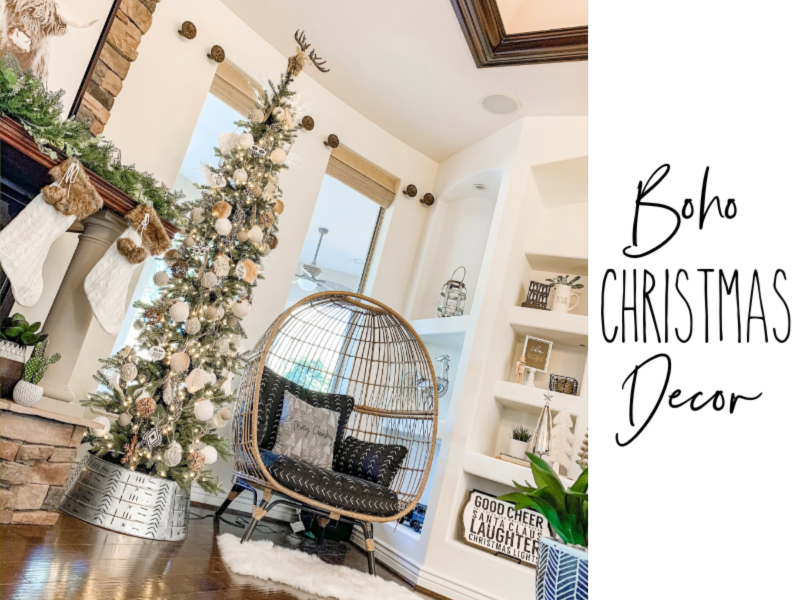
Ok without further ado… here is our living room all ready for Christmas.
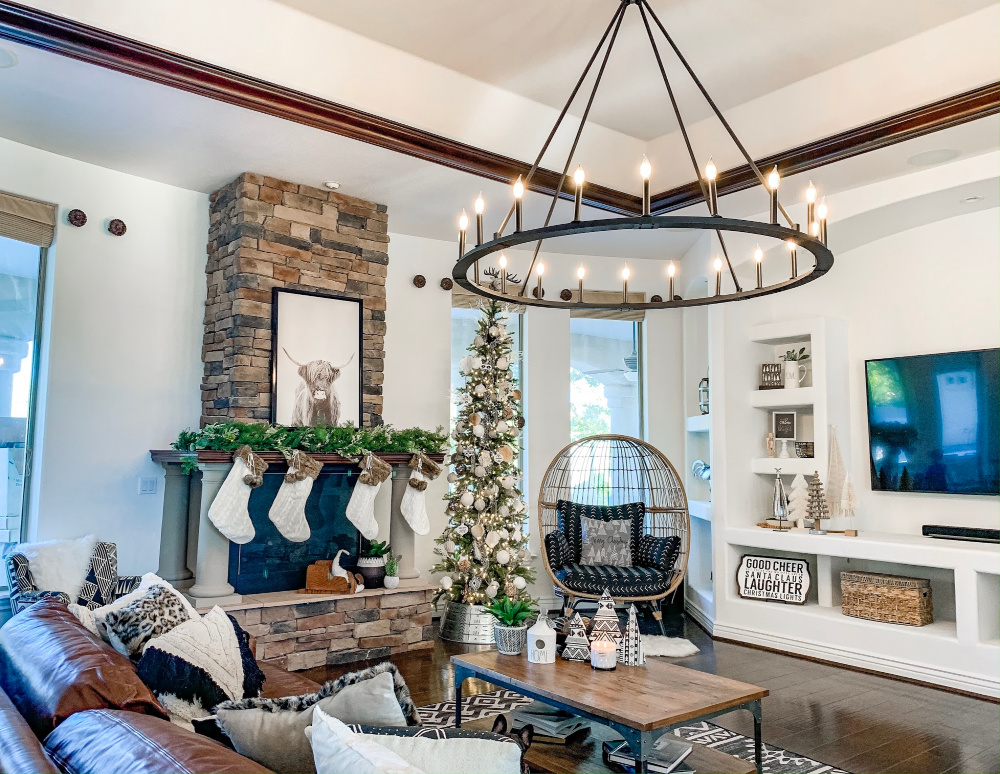
 

Crafty Glam Boho Christmas

We’re loving the neutral decor and how it flows with the rest of the house. Let me get closer up…
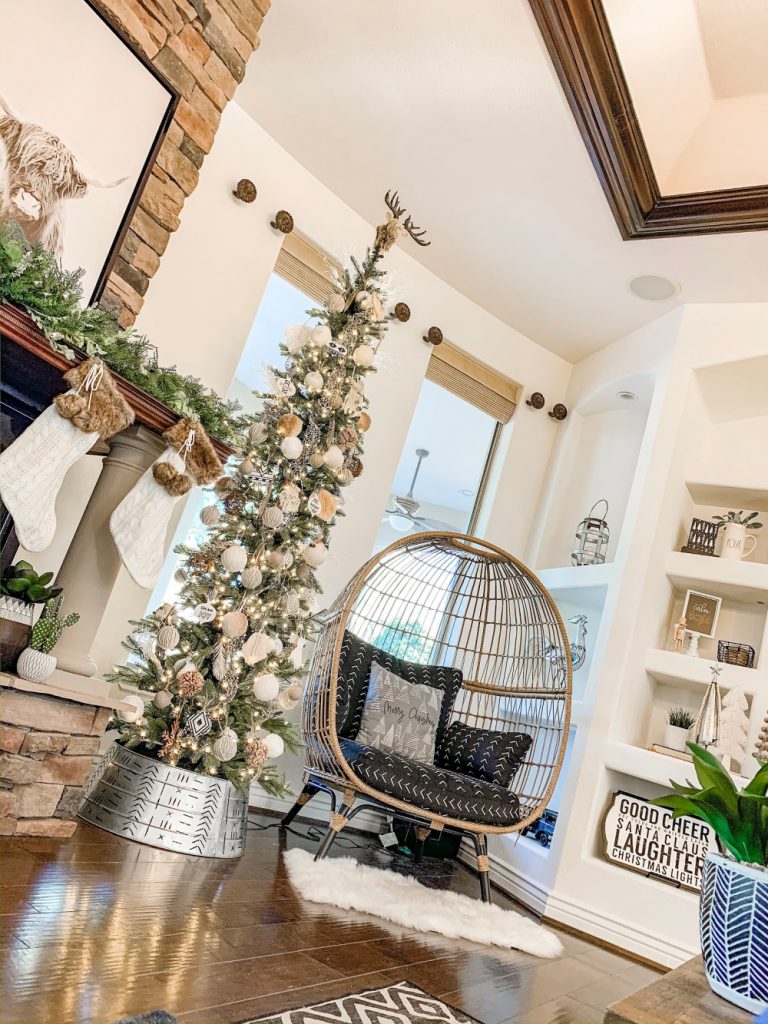
Boho Christmas Tree Decor

Here is a closer look at our Christmas Tree. It’s from Balsam Hill. We went with the 9ft Cathedral. I debated on which tree and which size to go with but I really wanted a narrow one so that we didn’t have to move the Egg Chair. We use the chair all the time and don’t have another space for it in this room. I think the tree with the chair ended up being a perfect fit.
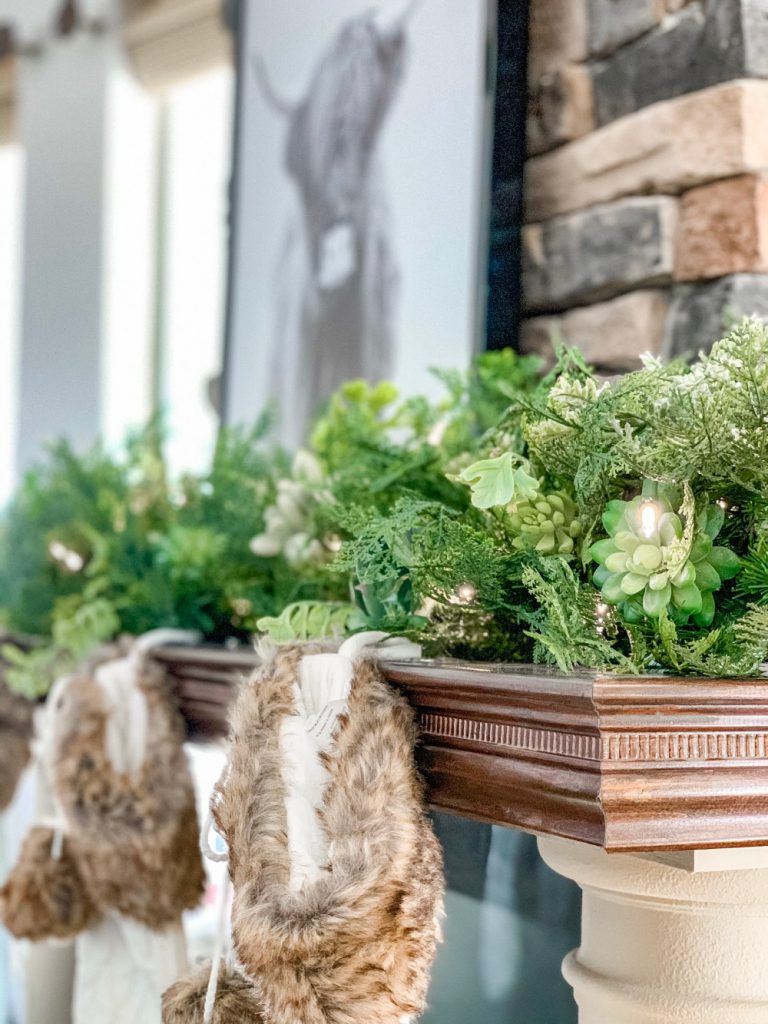
Balsam Hill Winter Succulent Garland

While shopping for the tree online, I decided to browse the garland section. BOOM! This winter succulent garland jumped right out at me. I had to have it. It just gave me all the boho Arizonian vibes and I thought it would be perfect for the mantle.

Many have asked on FB and IG about the stockings… they are from Michaels and they are attached the mantle with small clear command hooks. They work perfect and not an eye sore.
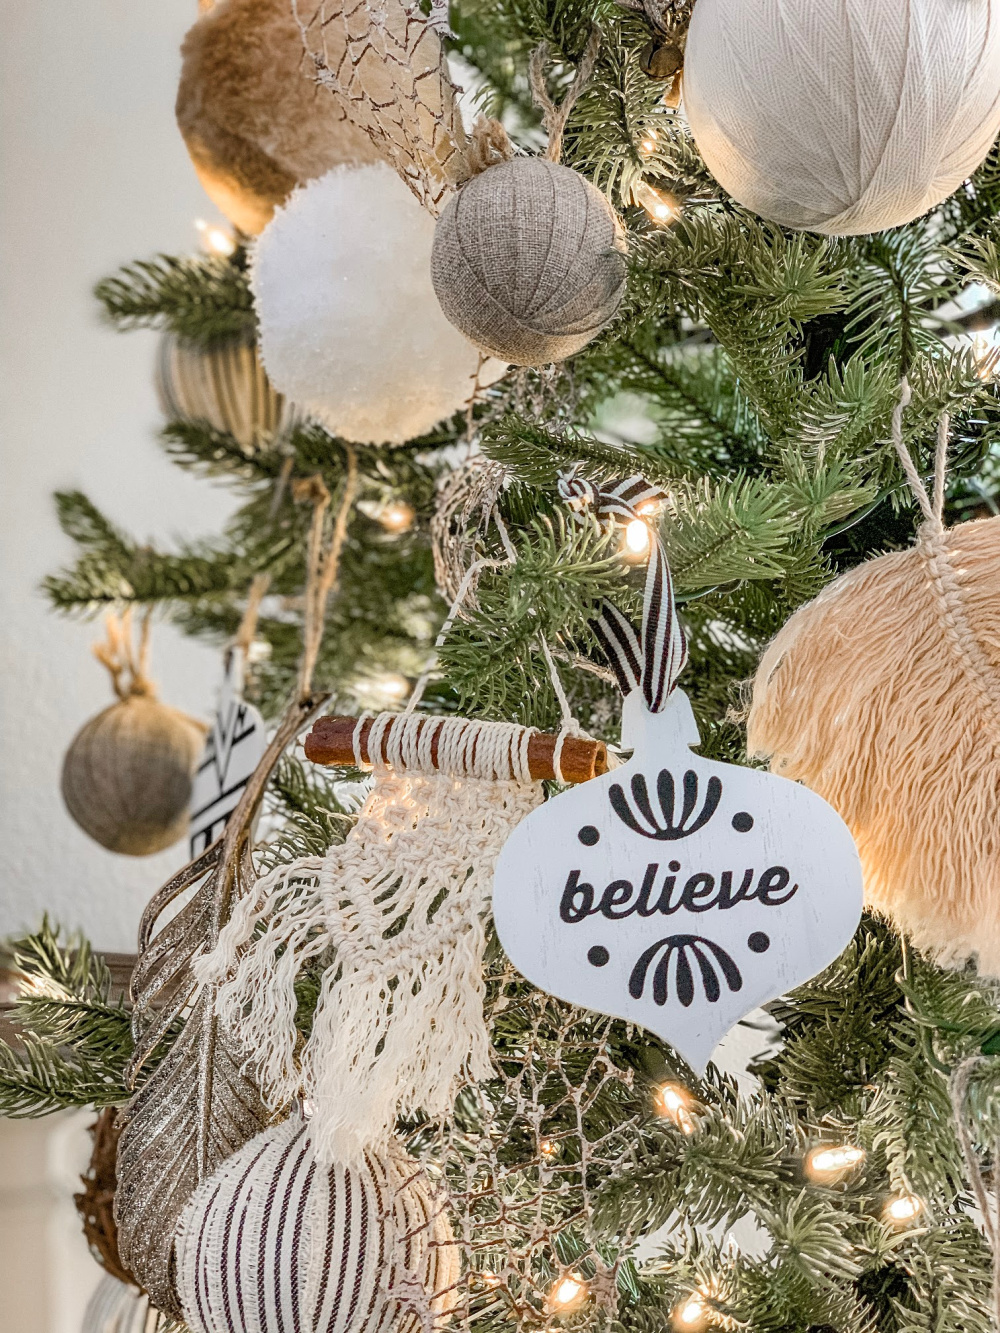
Boho Macrame Ornaments

The ornaments are a mix of handmade, Rae Dunn and some that I purchased at Hobby Lobby. The gorgeous macrame ornaments were made by my talented mom. Didn’t she do amazing?! I showed her a few that I liked and next thing you know I had a boxed shipped to me with about 10 gorgeous handmade macrame ornaments from her. They’re all pretty drool worthy if you ask me.

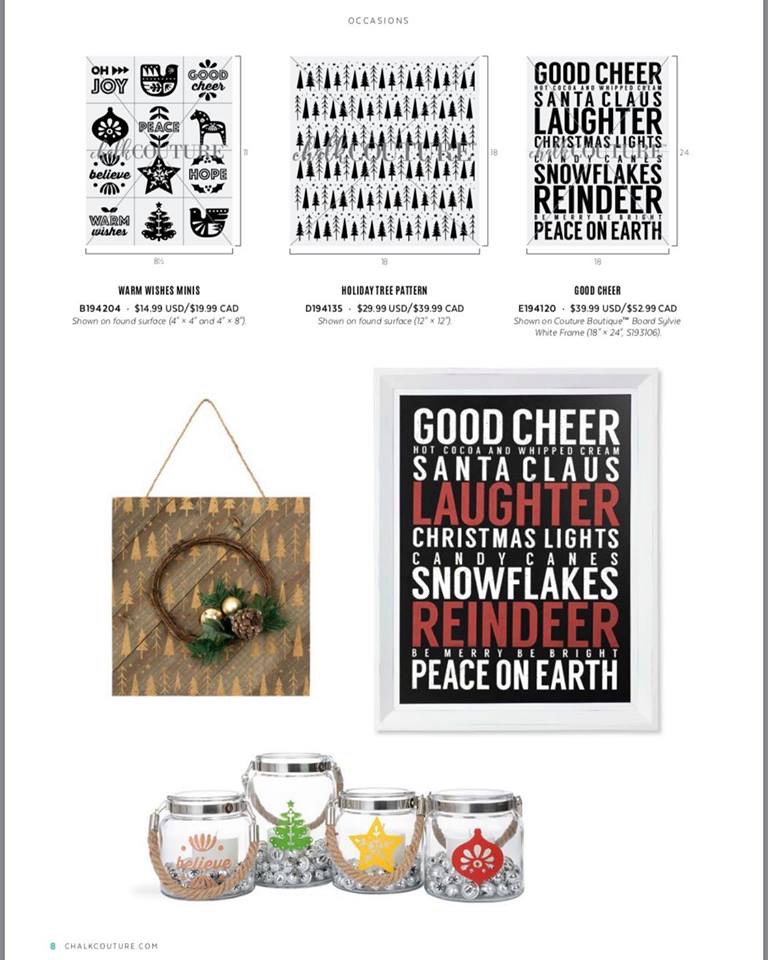
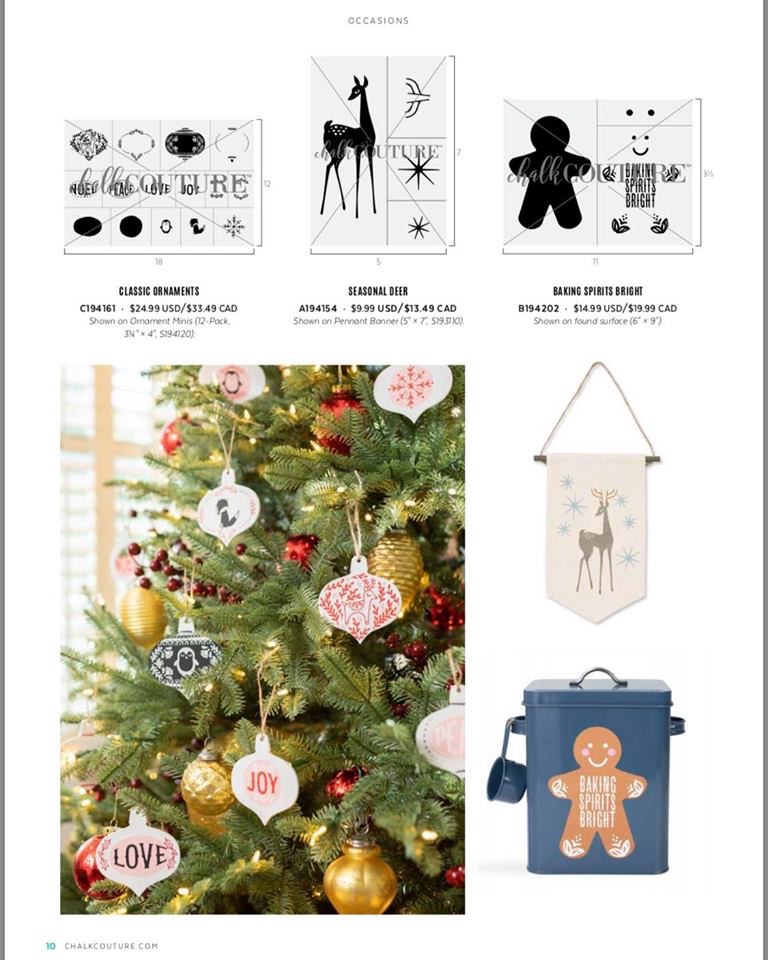
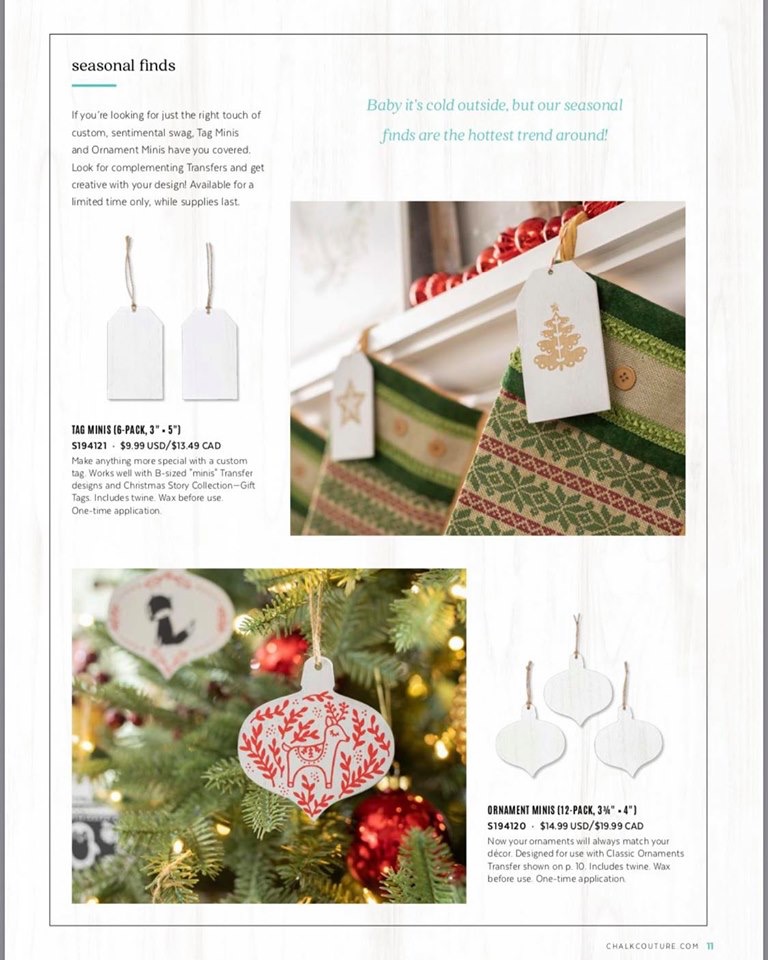
The wood ornaments were ones that I made. I had a blast chalking those. The mini wood ornaments come in a pack of 12 and can be found here, and then I chalked on them using this warm wishes silk screen transfer from Chalk Couture found here and black Chalkology Paste found here.
I actually have a video of me making these if you’d like to check out the process:
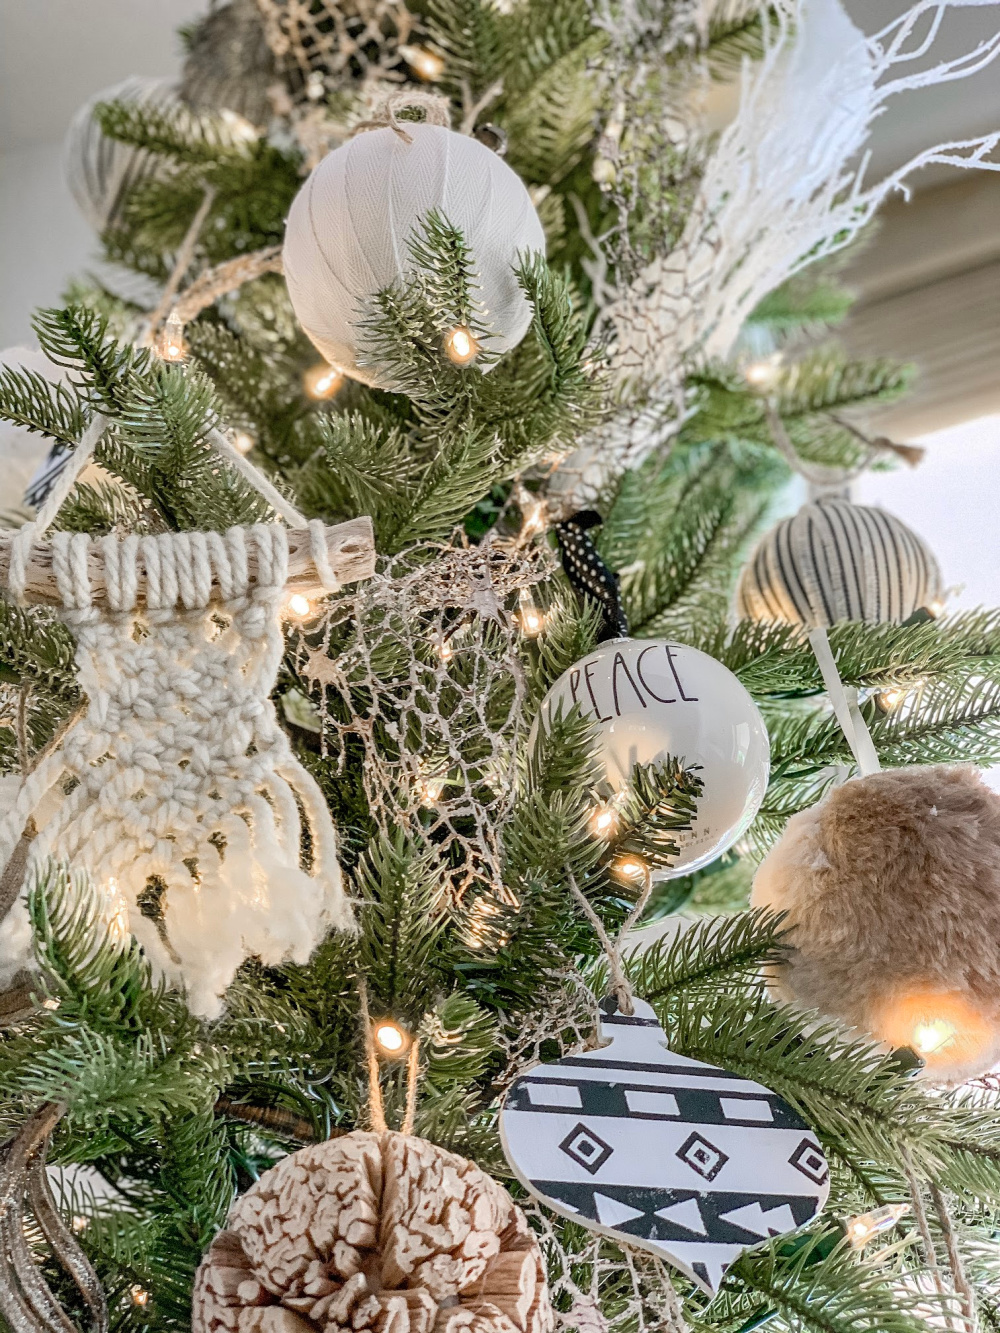
Boho Chalked Ornaments

For these wood ornaments, I used my favorite Southwest Motif Transfer from Chalk Couture, found here. It’s my all time favorite to use. I even used it to chalk the Christmas Tree Wood Cut outs that are sitting on the table.

Here is a peek at those trees…
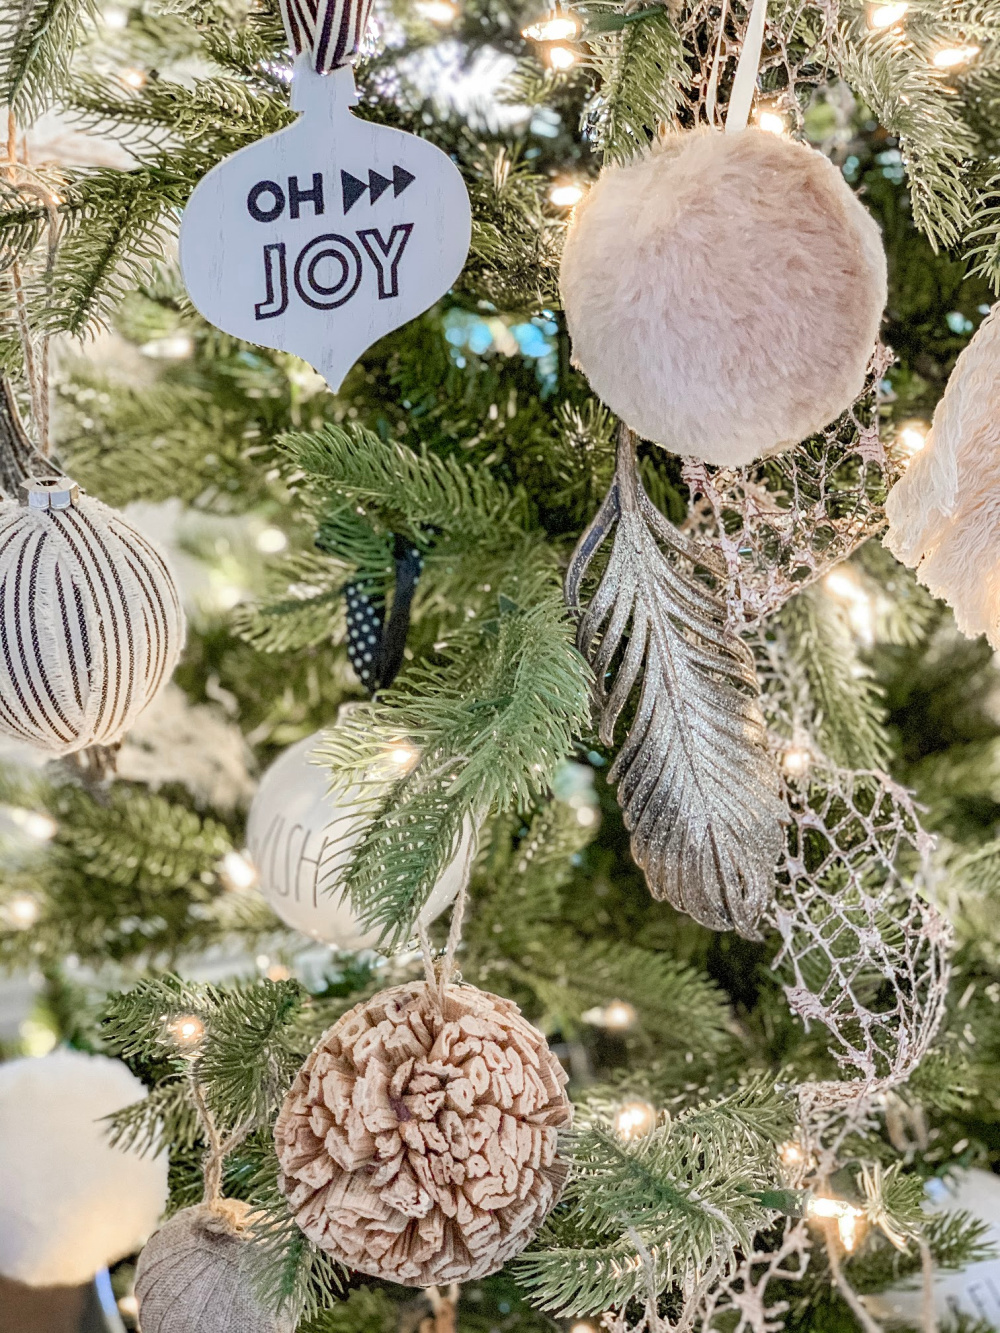
Boho Feather Ornaments

Gahh… look at those feathers. I love them. They even shimmer. Ohhh Hobby Lobby, you had some good stuff this year. Are you Hobby Lobby obsessed too?! I love long walks down the aisles of HL looking for things I could chalk on or decorate with.
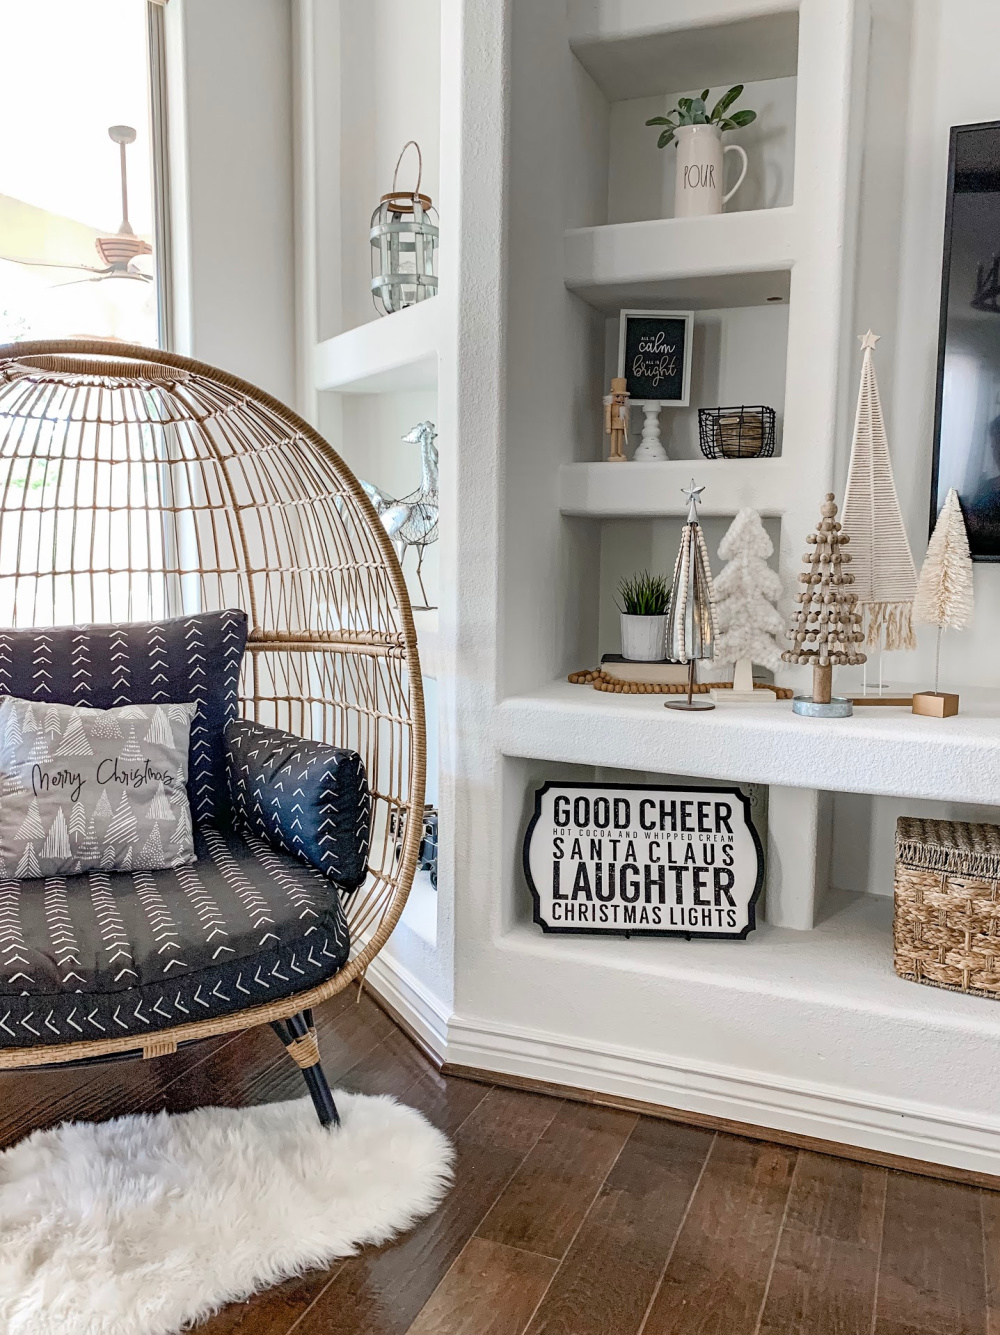
Boho Christmas Mini Trees

Another questions asked a lot on my FB and IG was where is the chair from…. it’s actually from the Opalhouse Line at Target. I ordered it online. It was a total cinch to put together and we absolute love it. If I could just keep the little ones from hanging on it like monkeys, that would be awesome. 🙂

And all those cute boho mini trees are from Hobby Lobby also. Except the fuzzy one that lights up, it’s from Joanns.

Lexi the Frenchie

Meet Lexi. She’s our little frenchie girl. So sweet. She’s probably thinking… “mom, enough decorating and chalking all the things… play with me”. 🙂
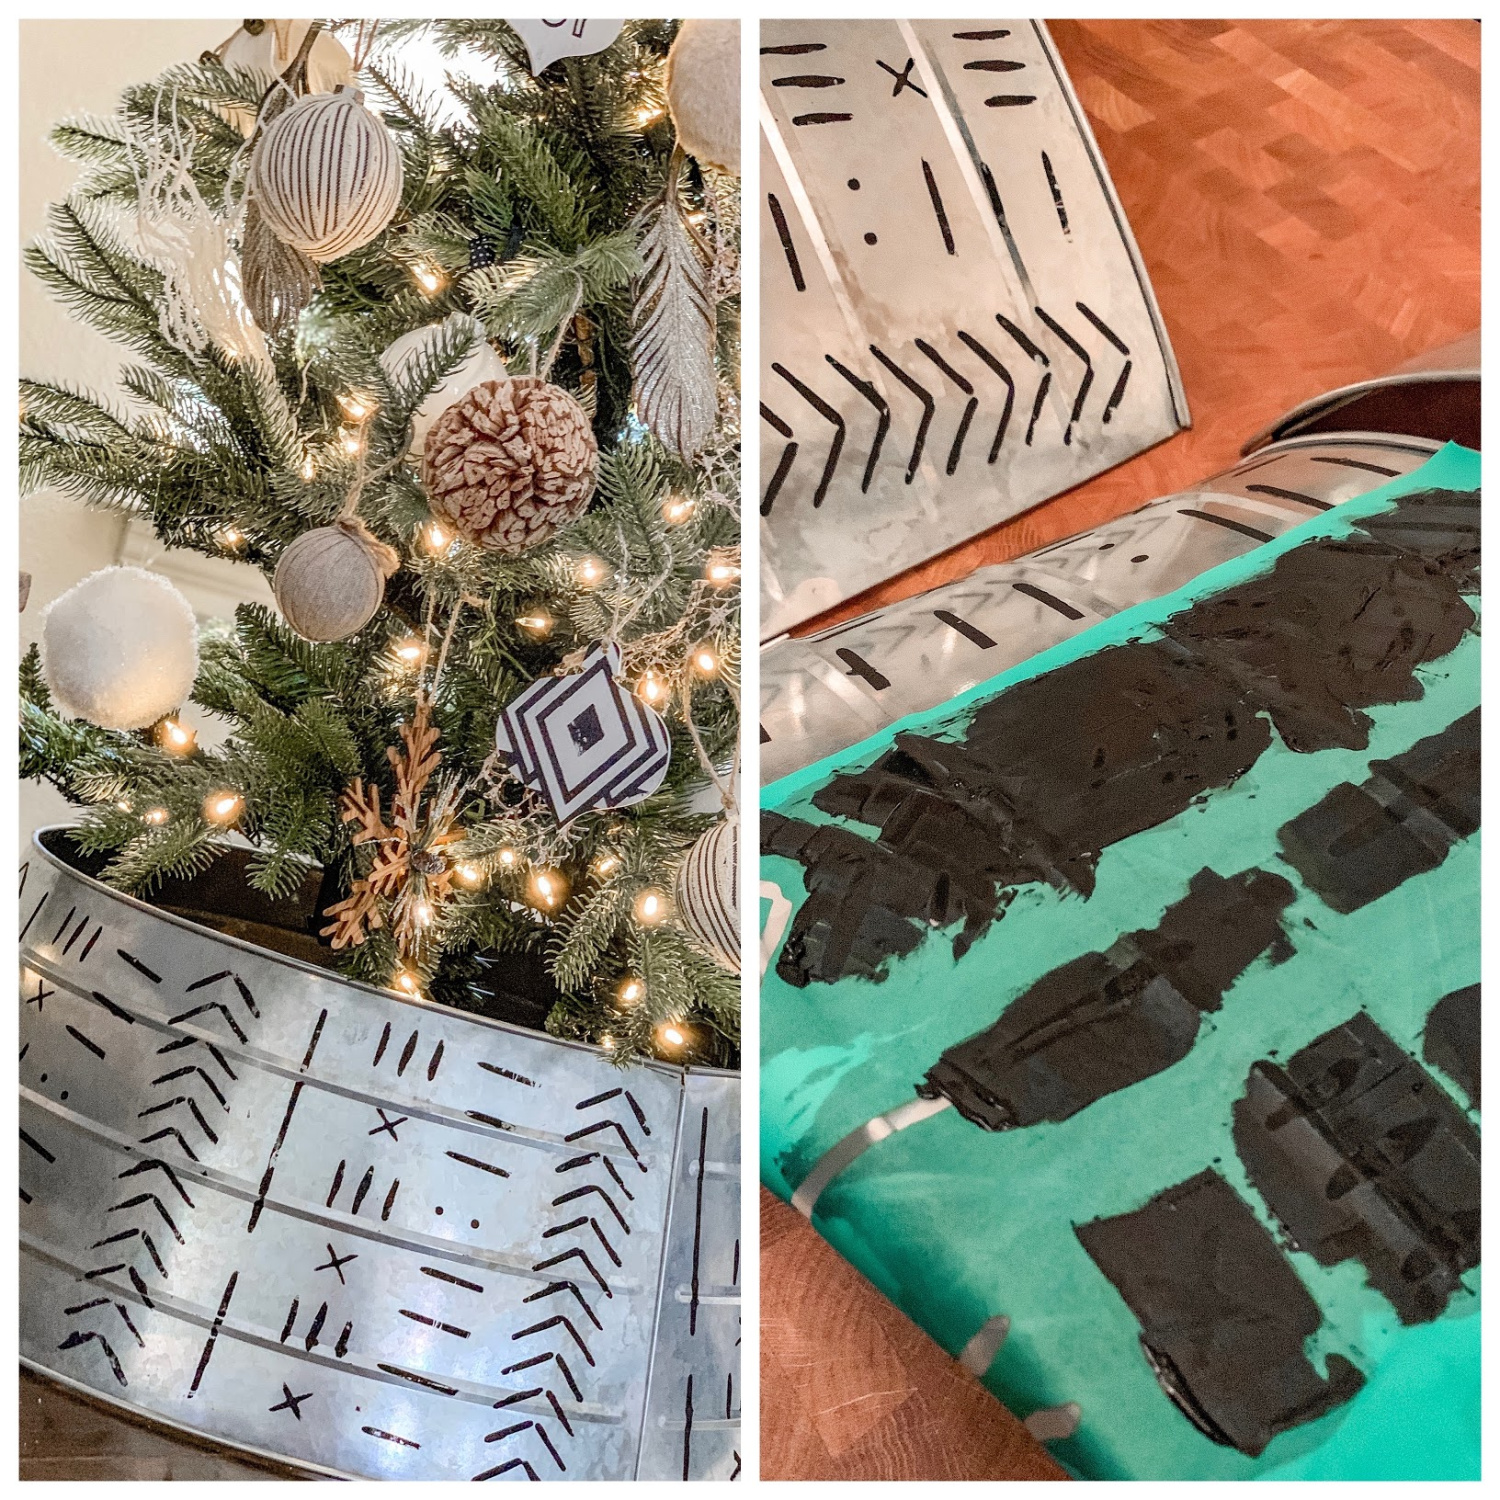
Boho Galvanized Tree Collar

And here is a closer look at the Galvanized Tree Collar. I got it last year at Michaels and it just screamed Farm Decor, which I did a lot of last year. I didn’t want to have to buy another tree collar (although I would have loved a rattan one) so I decided to chalk it with the mudcloth transfer, found here. I was super happy with how it turned out.

And that’s a wrap. I didn’t go crazy decorating everywhere this year. Some decor in the hallway, our front porch and dining area (all pics are on FB & IG if you want to see those) but we wanted to keep it on the simple side to avoid clutter.

Ohhh and here is what our house looked like for Christmas in 2018. Different house, different style, different decor… still lots of chalk of course. 😉
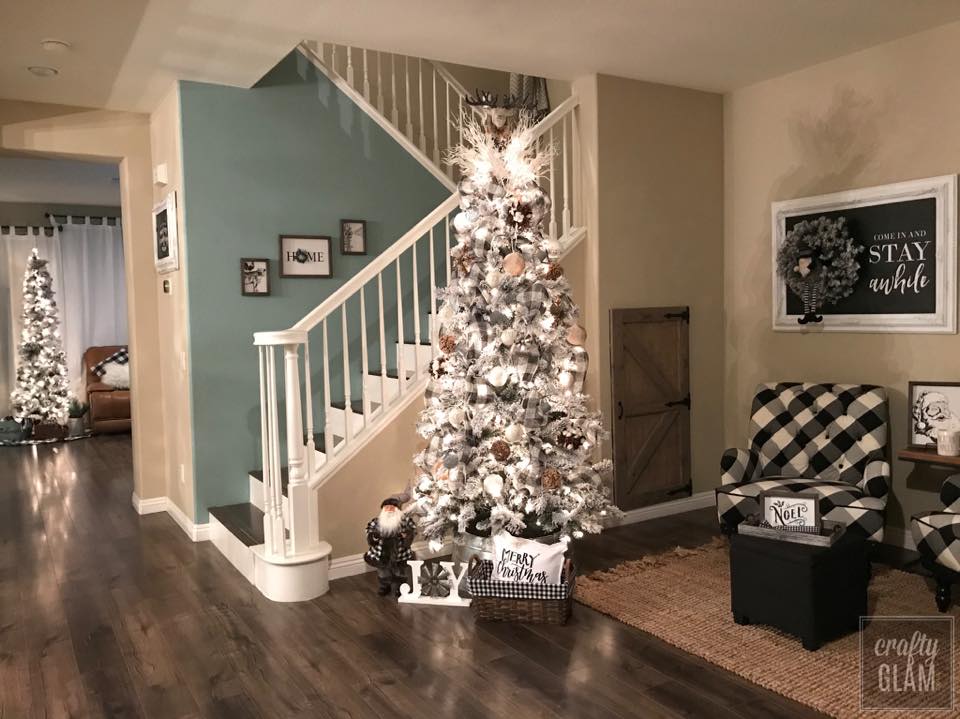
Farmhouse Christmas

Thanks for visiting the blog! ~Mandy
Crafty Glam with Mandy Leahy
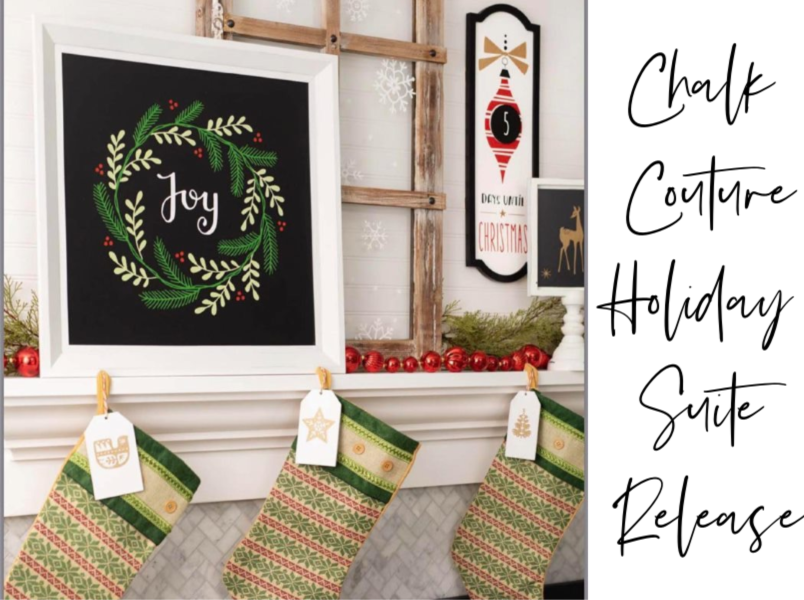
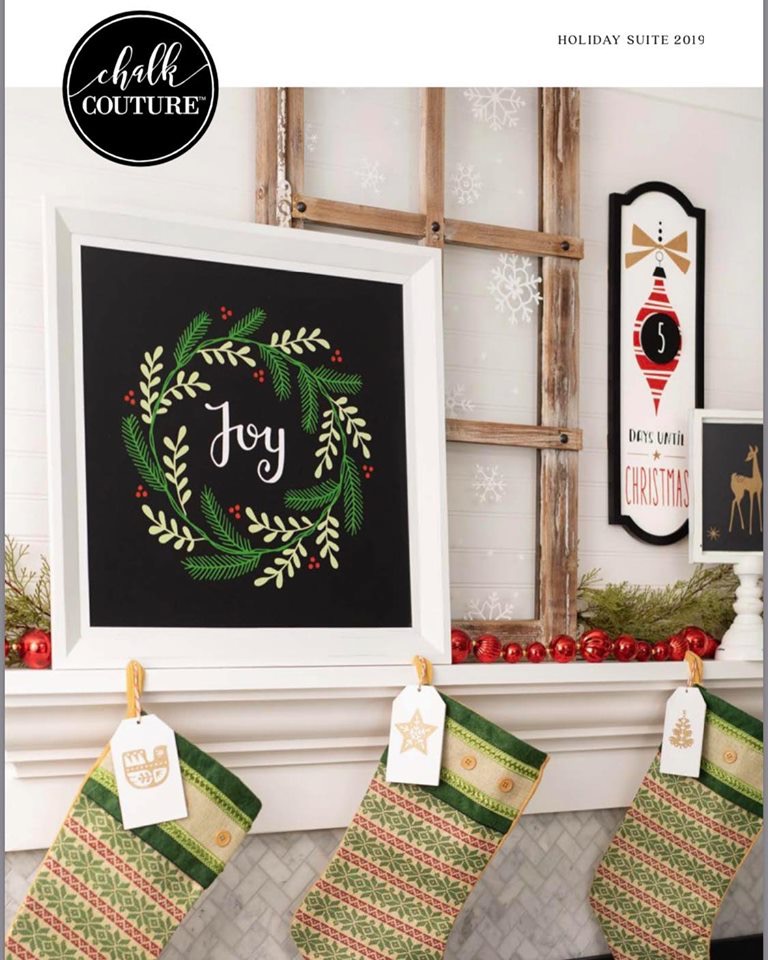
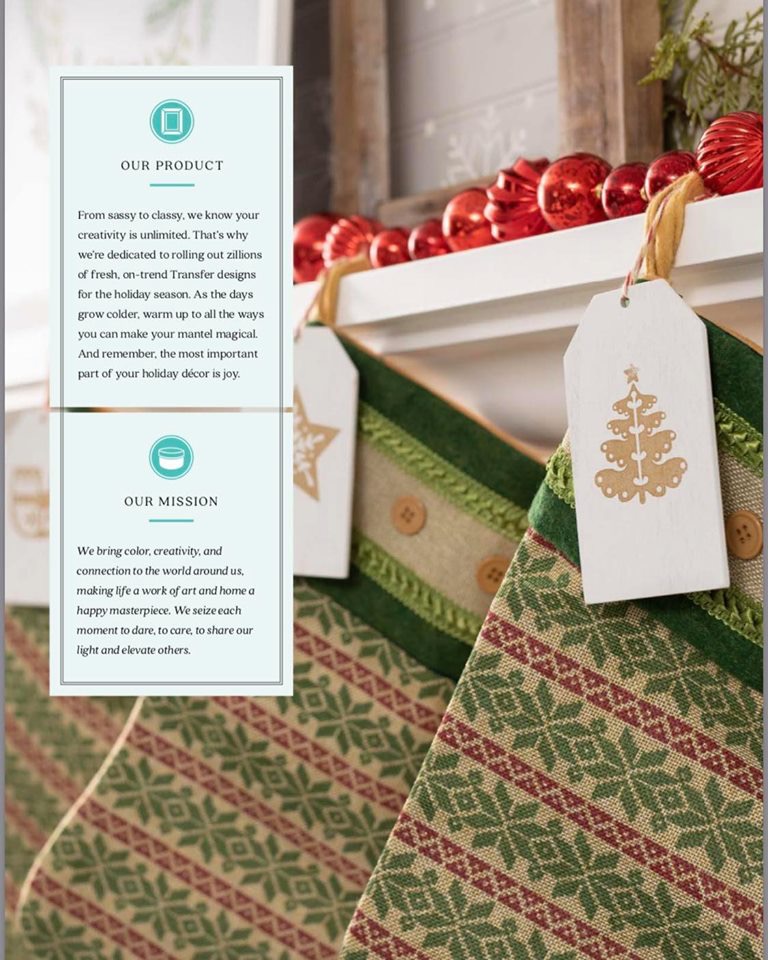
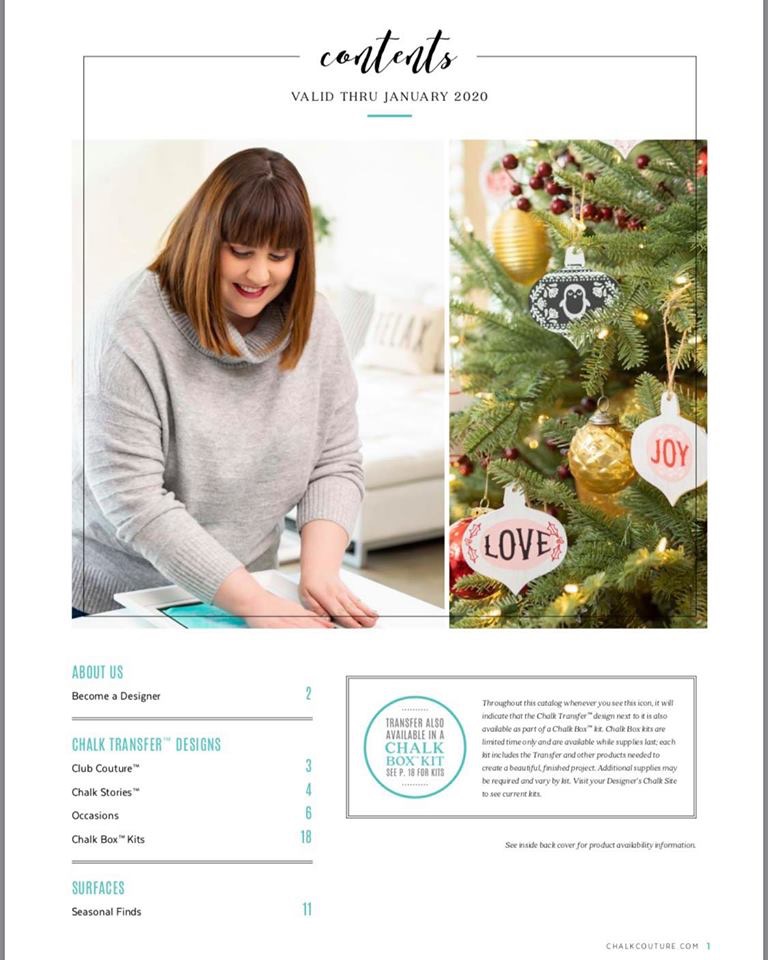
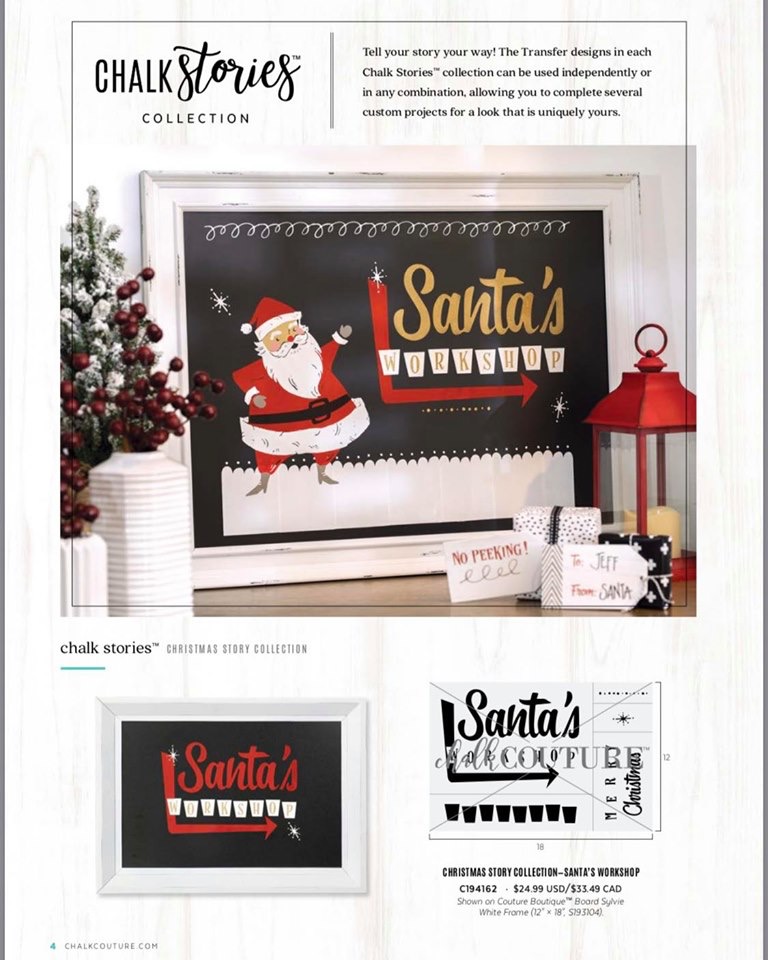
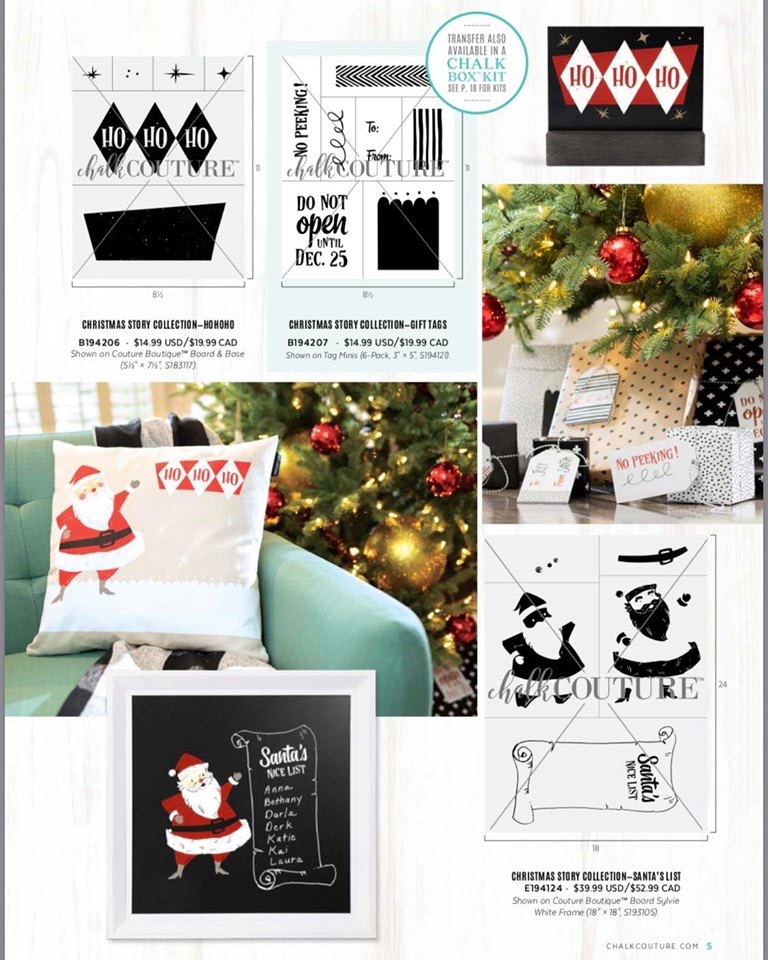
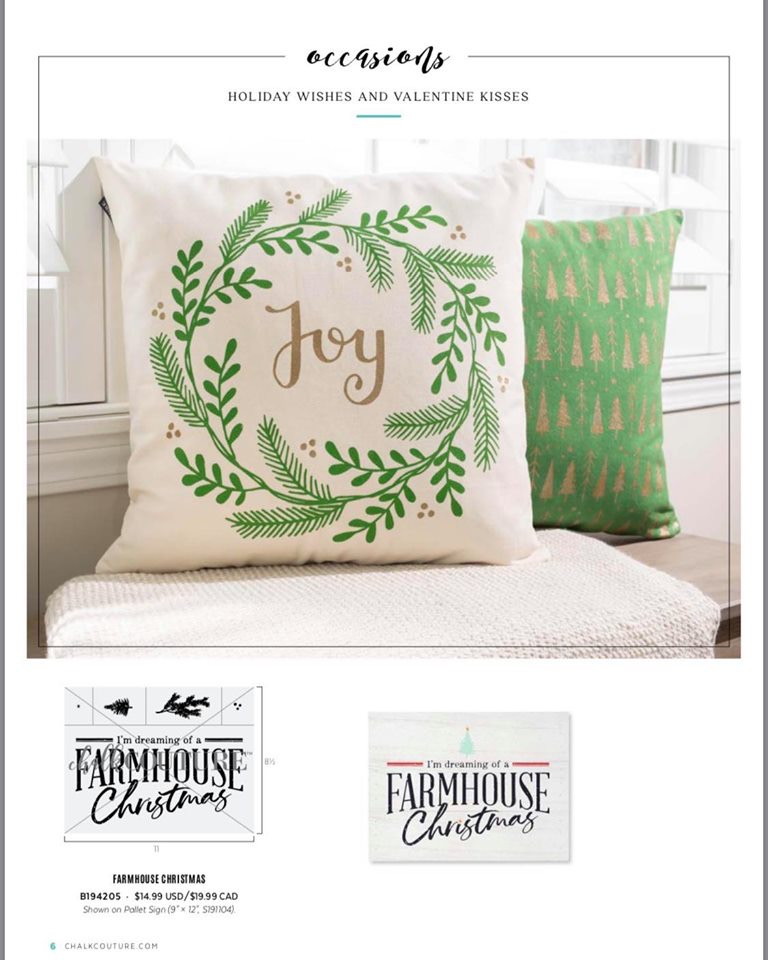
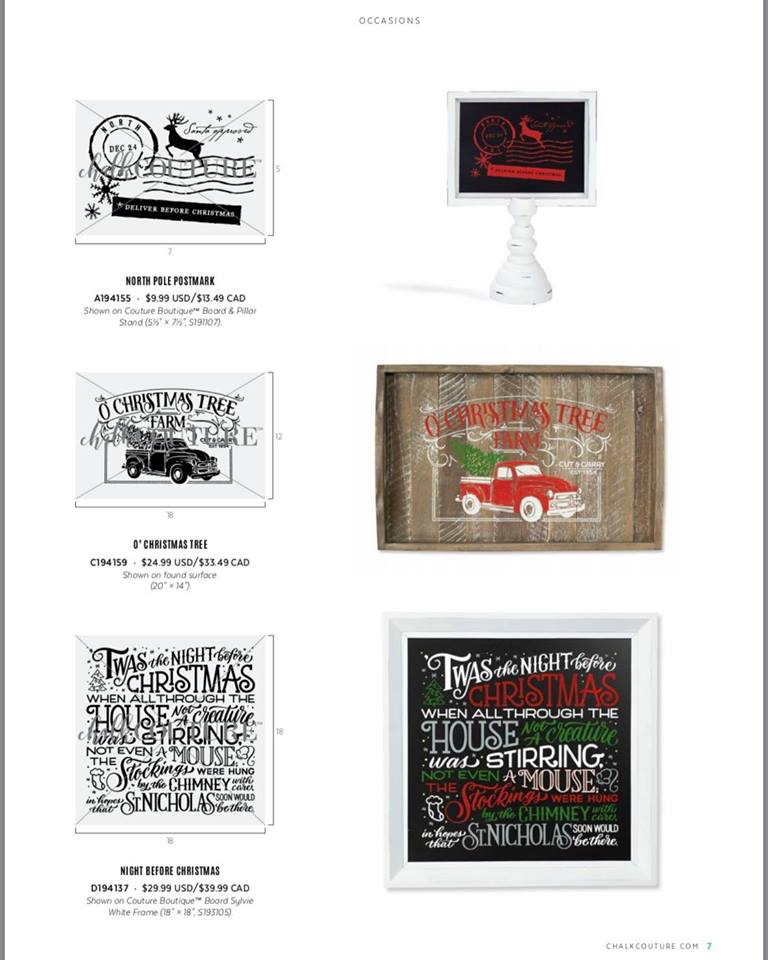
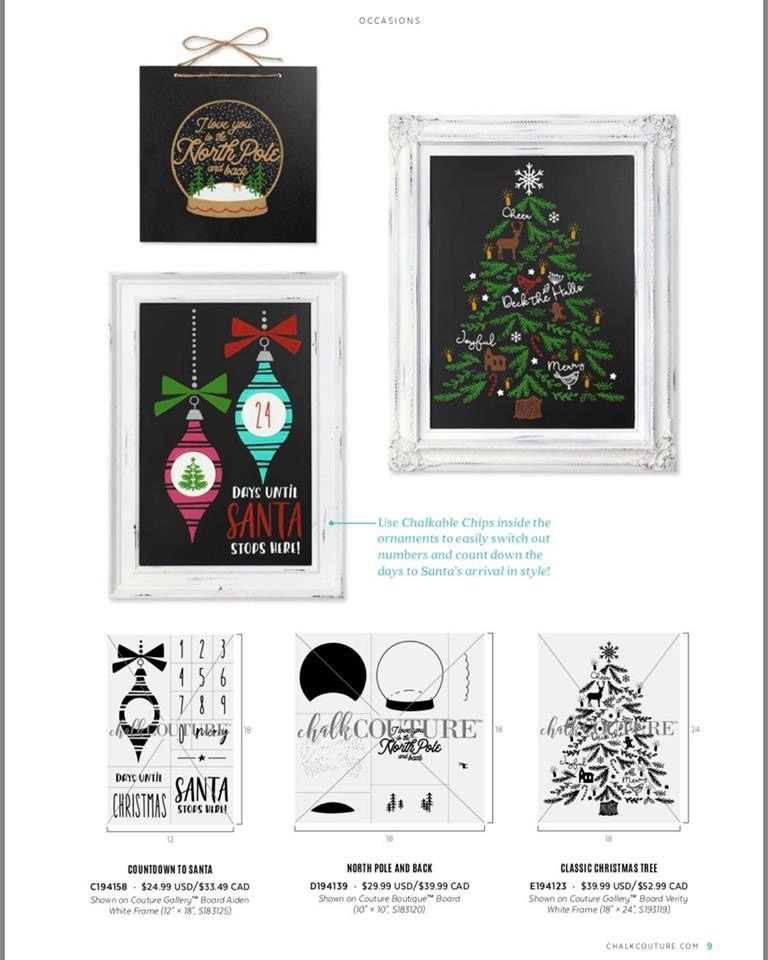
Introducing the New Chalk Couture Holiday Suite

Chalk Couture Holiday Suite

Oh my goodness you guys… I’m dying over all the cuteness in our New Chalk Couture Holiday Suite Release for 2019. Want to see it? Ready for a peek?!

Products will be available on my site on September 16th.


Ok ok I can’t wait any longer… Here you go… enjoy!!

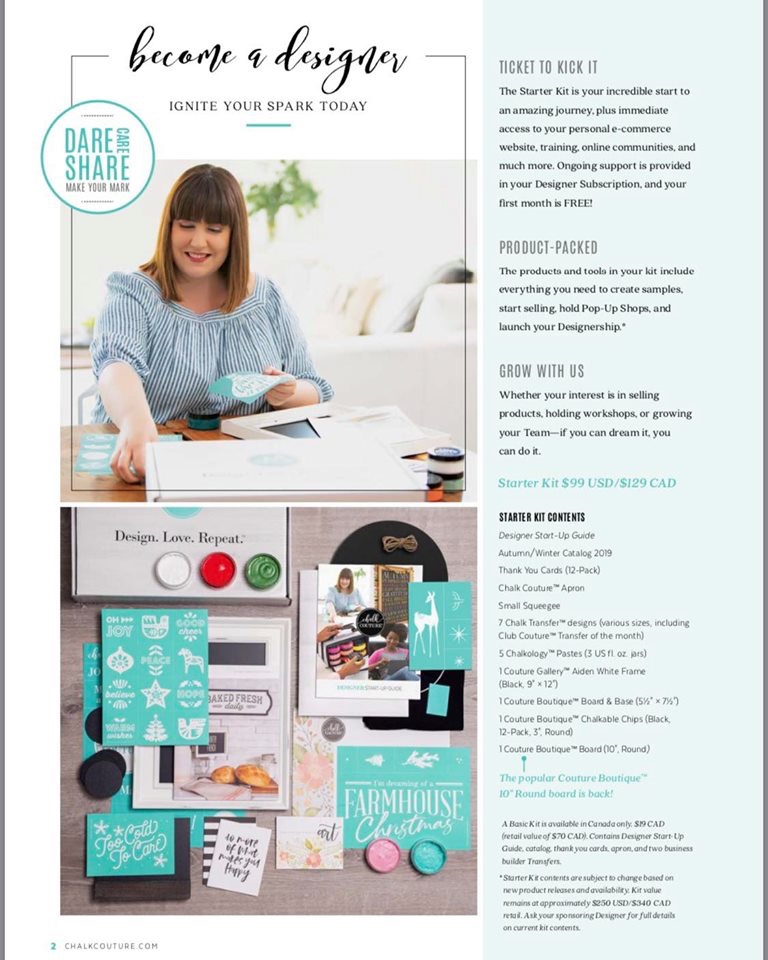
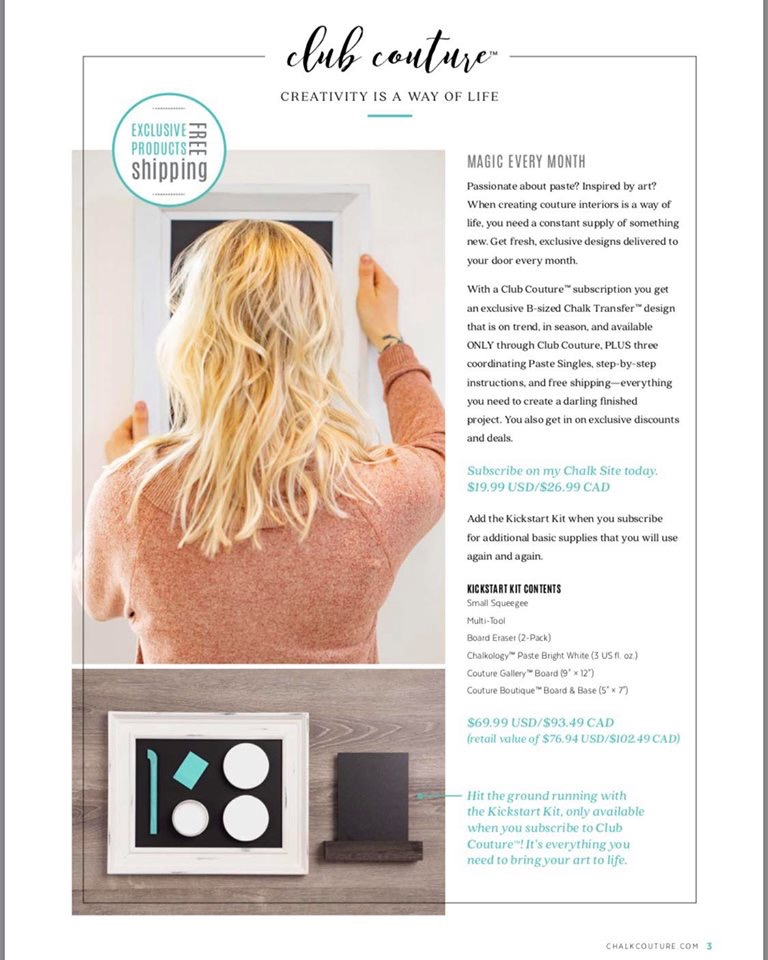
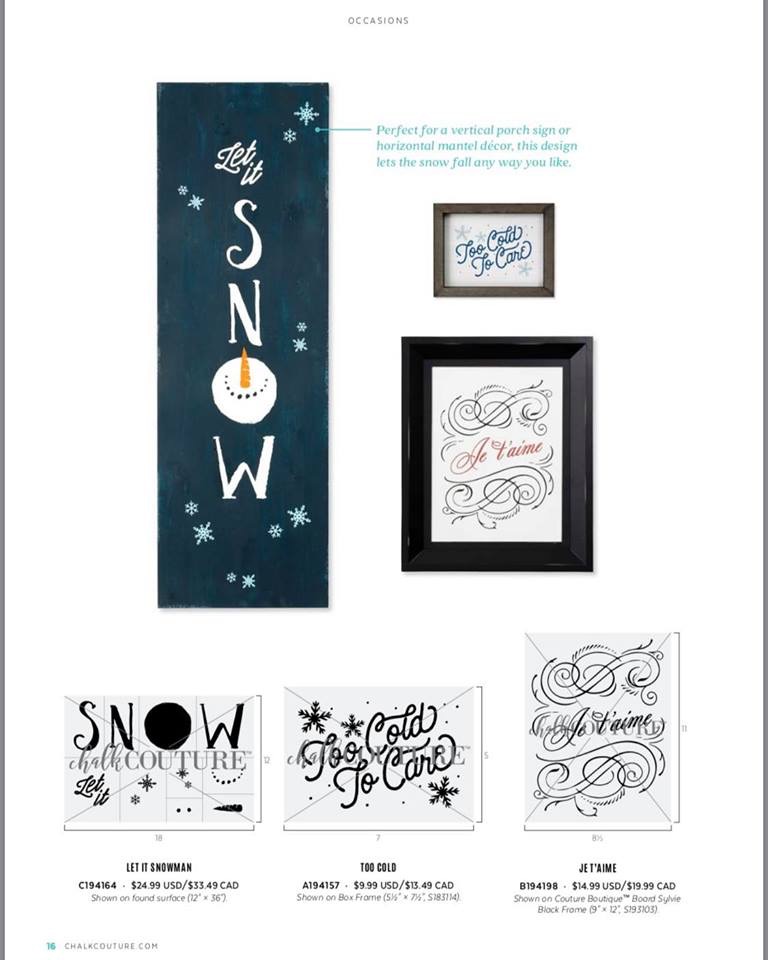
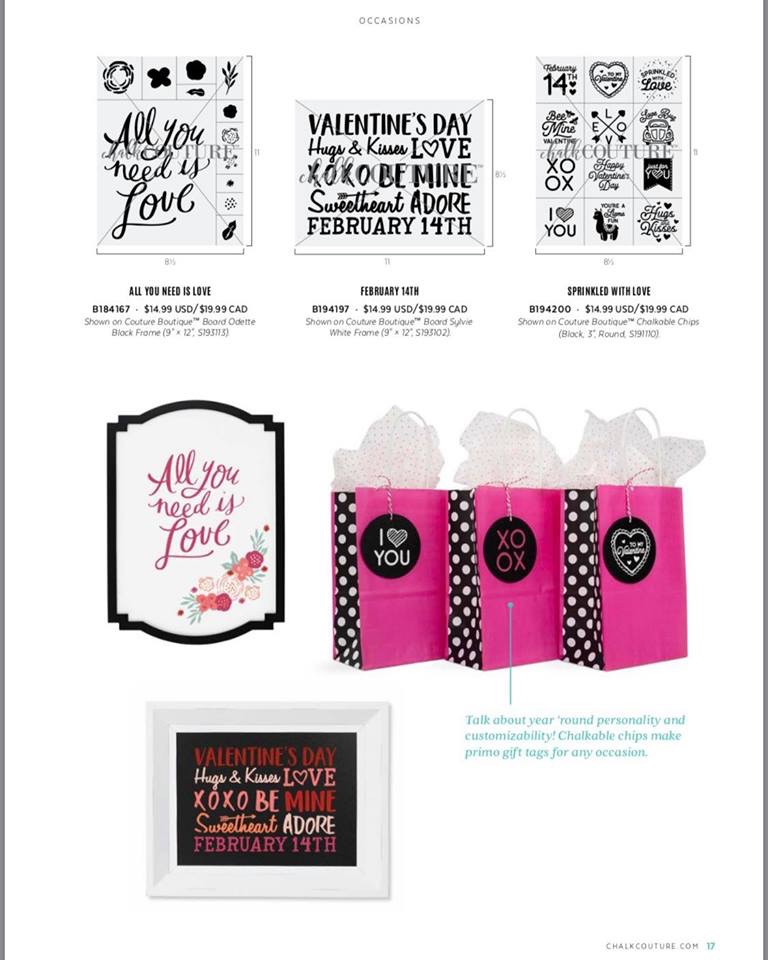
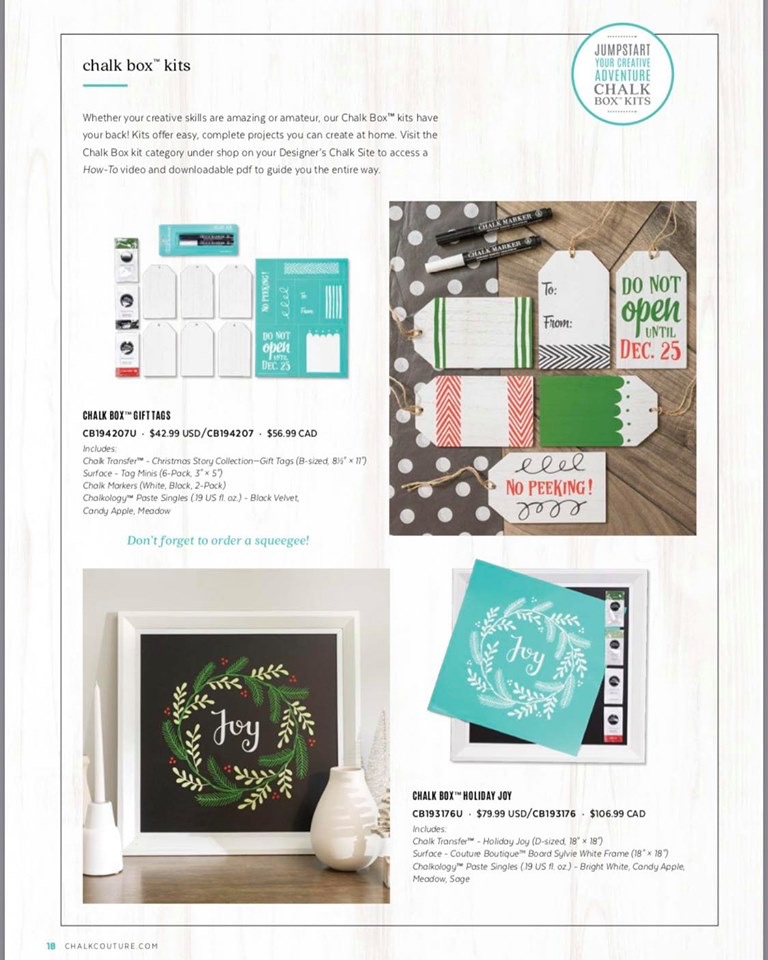
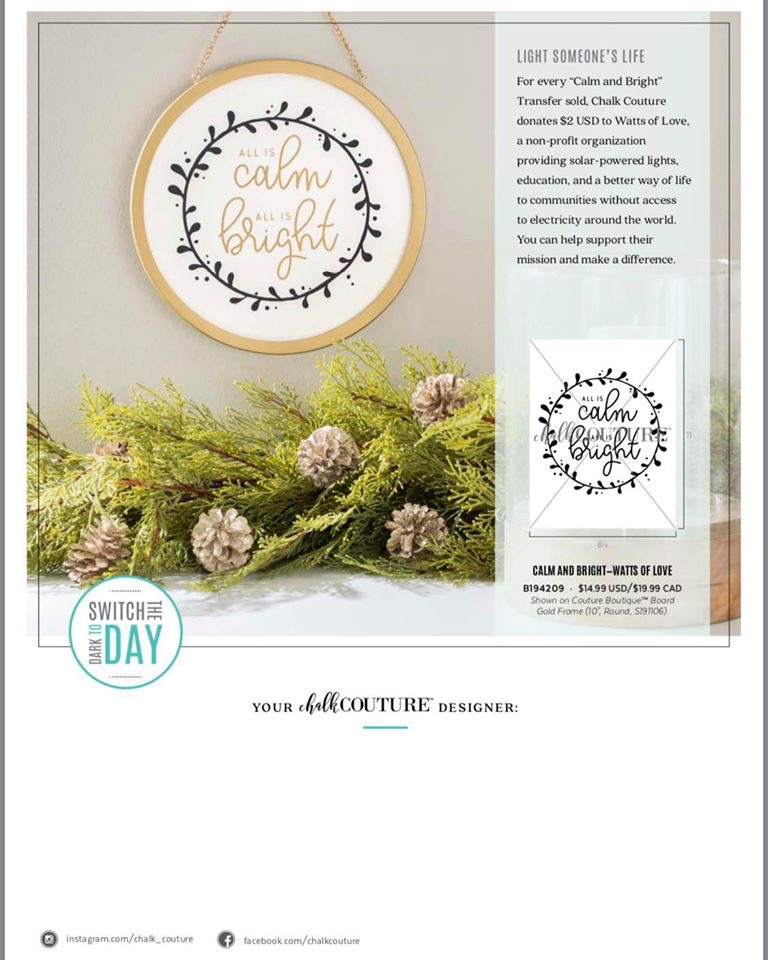
Chalk Couture Holiday Suite 2019 Chalk Couture Holiday Suite Catalog 2019 Chalk Couture Holiday Suite Catalog 2019 Chalk Couture Designer Kit from Holiday Suite 2019 Catalog Chalk Couture Club Couture Program Chalk Couture Santa's Workshop
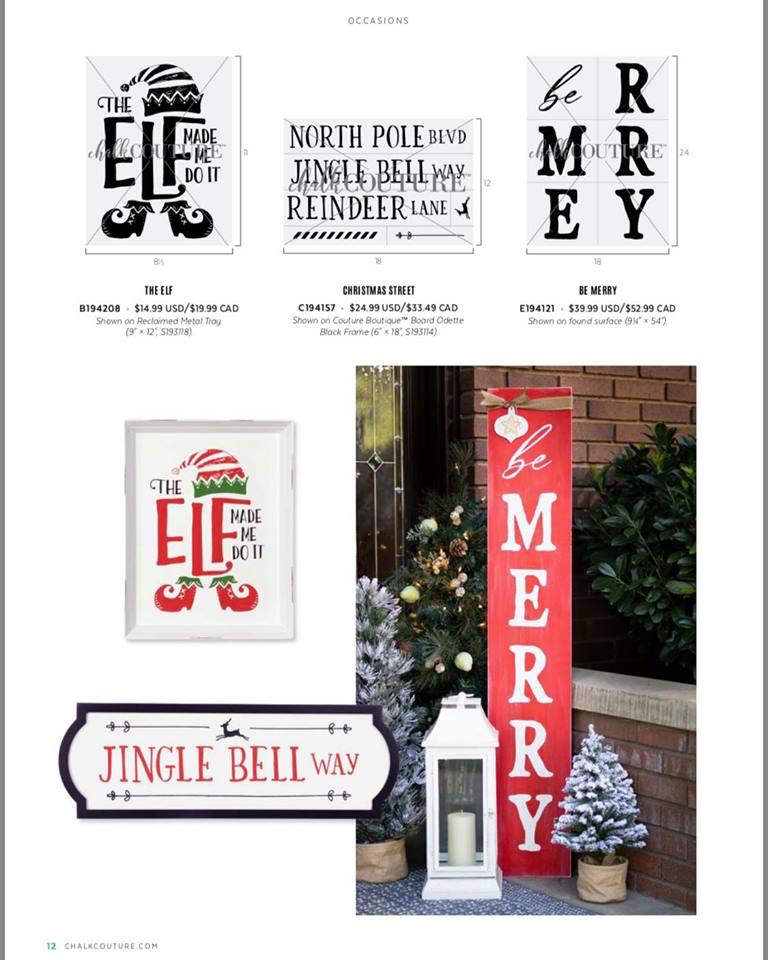
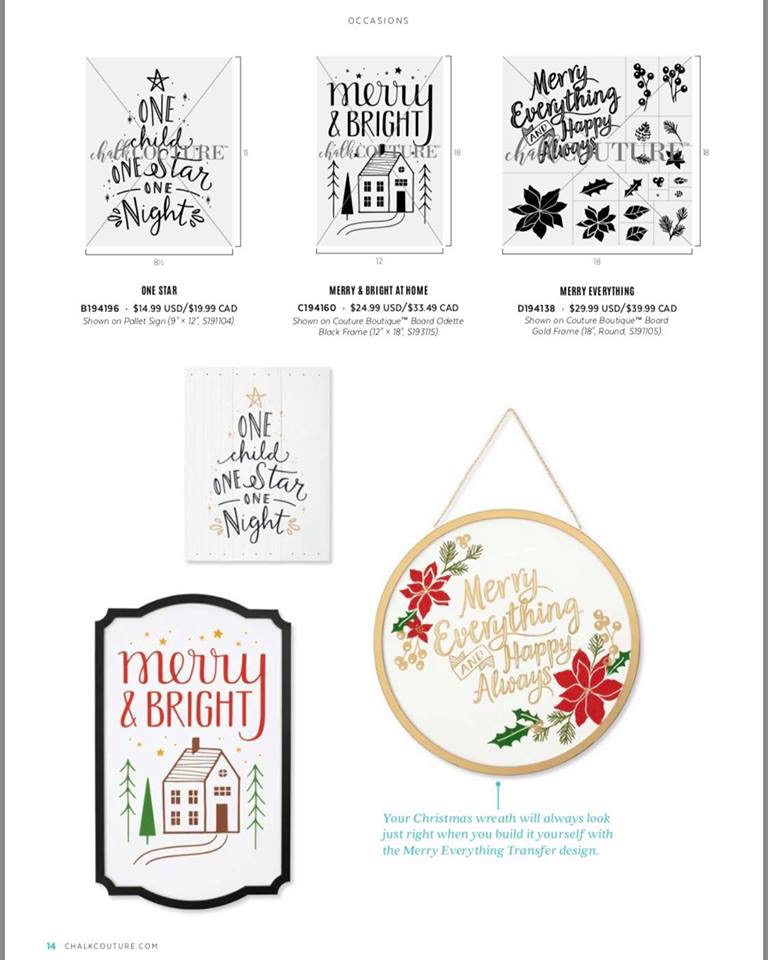
Chalk Couture Christmas Story Collection Chalk Couture Farmhouse Christmas Chalk Couture North Pole Chalk Couture Good Cheer Chalk Couture Countdown to Christmas Chalk Couture Christmas Ornaments
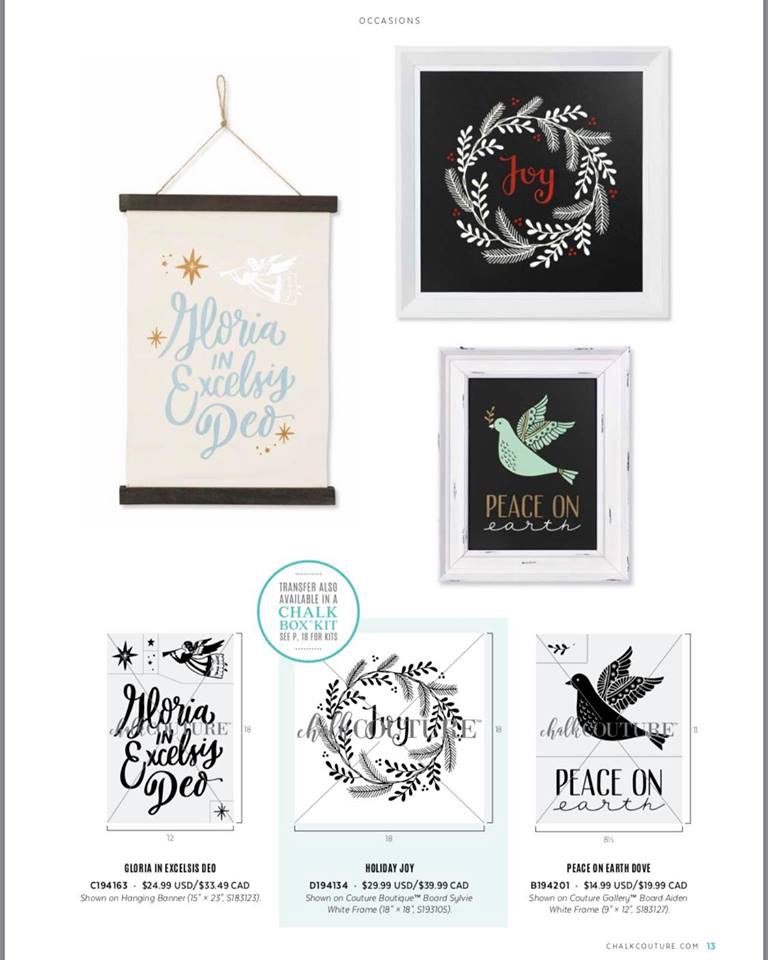
Chalk Couture Christmas Tags Chalk Couture Be Merry Porch Sign Chalk Couture Holiday Joy Chalk Couture Merry & Bright
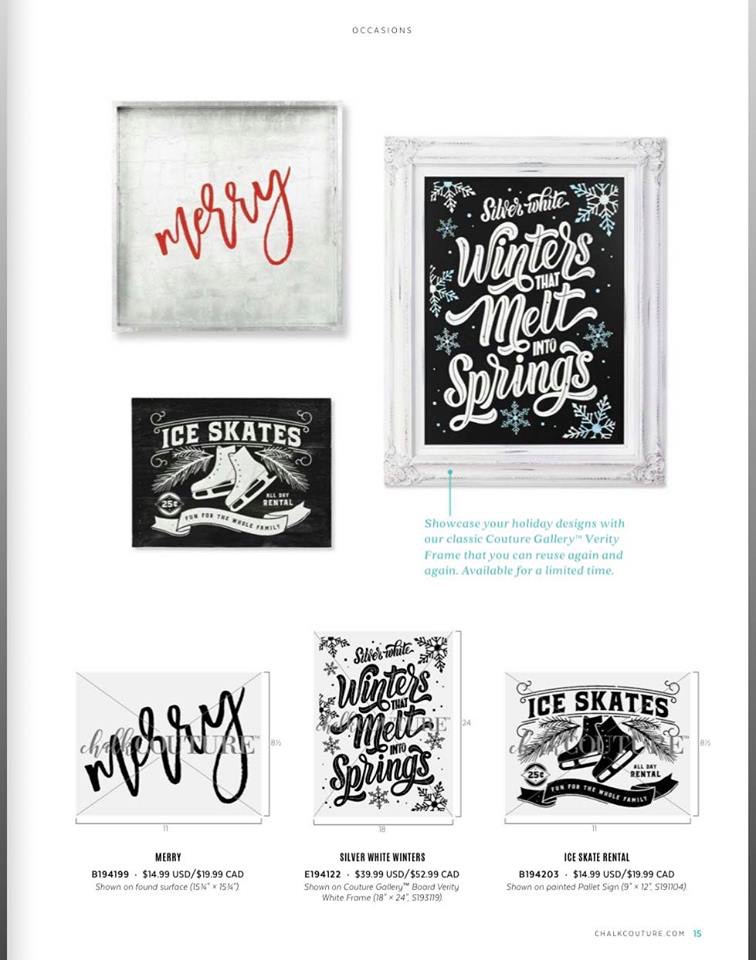
Chalk Couture Silver White WinterChalk Couture Let it Snowman Chalk Couture Valentines Transfers Chalk Couture Holiday Chalk Boxes Chalk Couture Calm & Bright

Which ones are your favs?

To see the full catalog, CLICK HERE.
To SHOP for Chalk Couture Goodies, CLICK HERE.

Crafty Glam with Mandy Leahy

Thank Your Hardworking Mail Carriers

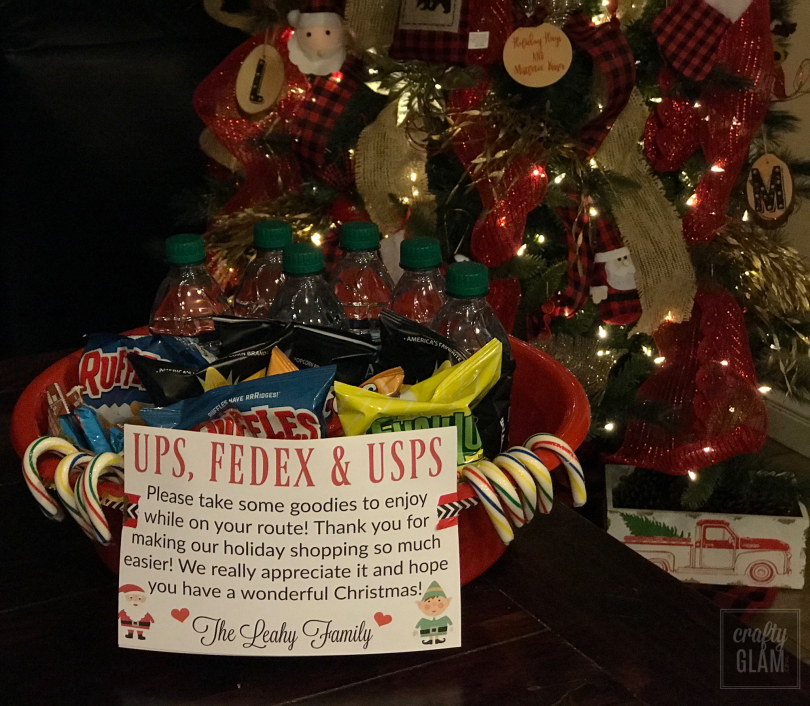
It’s that time of year again to say thanks to our hardworking mail carriers.

I can tell you they really do appreciate it. Sometimes they don’t get a break at all during this busy time of year to make sure that we have all of our holiday packages. Don’t you think if they had some water and snacks, they’d love it? I know my mail carriers are super thankful. They told me last year when I did this, that some days all they had during the day was the goodies I had set out. I will keep it stocked all month for them for sure! I set out a variety… water bottles, chips, popcorn, granola bars, candy canes, etc.
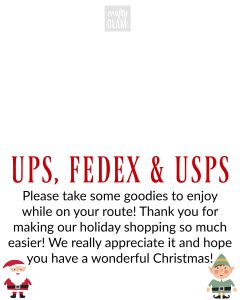
I’m including the Thank You message below, in case you would like to do the same for your mail carrier. Simply print it out and fold in half to attach or set on your box of goodies. I left off our name so you can easily write yours on there or use a program like picmonkey.com to add it before printing.

Just click on the image and you can right click and save it to print out.
You can also CLICK HERE to download the file on DropBox if you have any issues opening the full size image above.


Happy Holidays!


You’ve Been BOO’d! | We’ve Been BOO’d

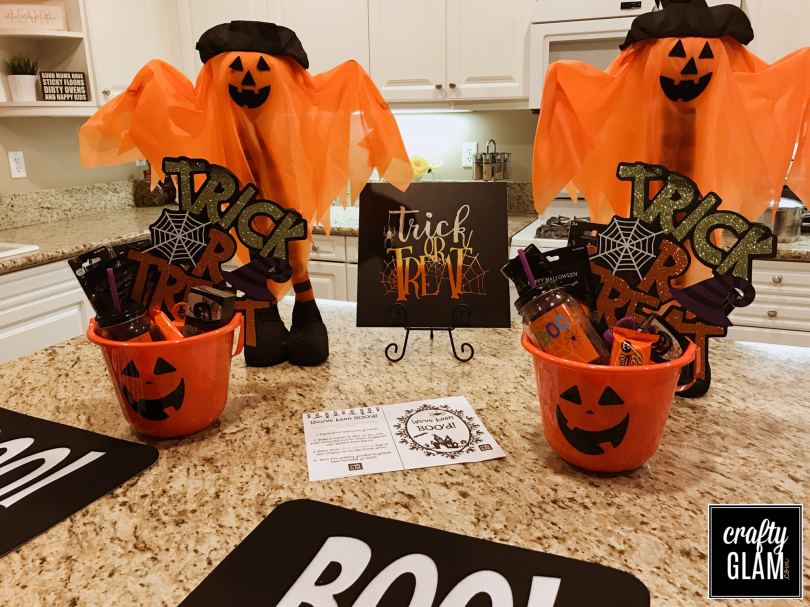
Have you ever been BOO’d?! It’s so fun! A few years ago we had moved into a new neighborhood and were boo’d for the first time. The kids were over the moon excited and of course, we had to continue the tradition. Every year we look forward to shopping for Halloween treats to create a basket full of surprises to take to our neighbors. The kids favorite part is the door bell ditching… haha! Although we often like to hide behind a car so we can see their reaction when they open the door and see their goodies.

Some ideas to include in your goodie basket are…

  • homemade items
  • candy
  • halloween decor
  • glow sticks
  • pumpkin necklace
  • stickers
  • coloring books
  • halloween bubbles
  • spider rings
  • cups

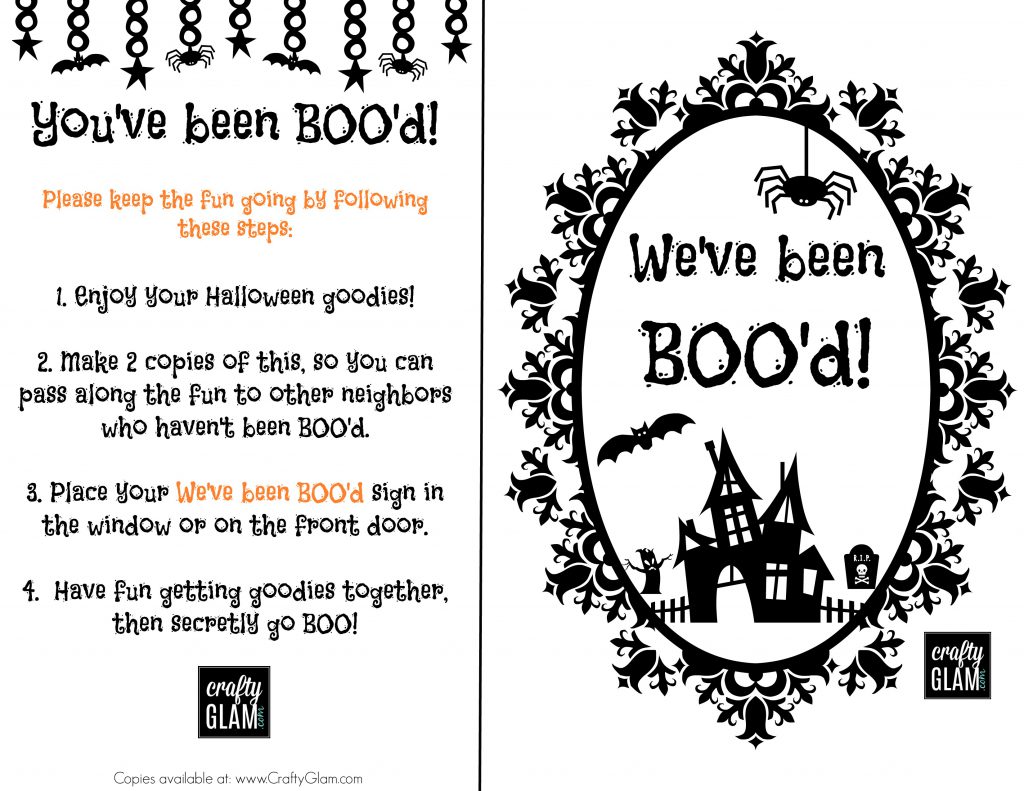
This year I made a “We’ve Been BOO’d” sign and the “You’ve Been BOO’d” instructions to include with the our BOO Baskets (pic below). I’ll include the printable below, if you’d like to use it. Simply click on the link under the image below to download it.
PRINTABLE DOWNLOAD AVAILABLE HERE!

Happy BOO’ing! I hope you enjoy it as much as my family does!

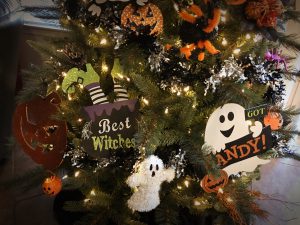
Halloween Christmas Tree

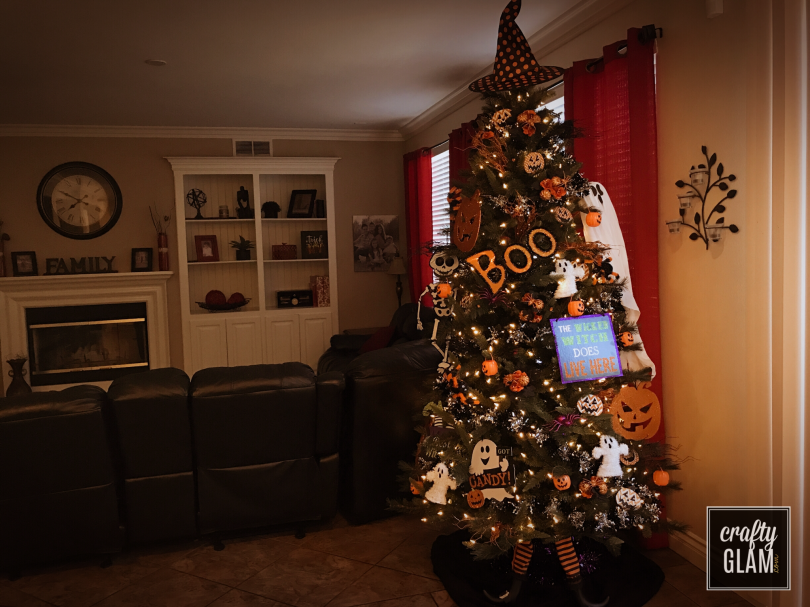
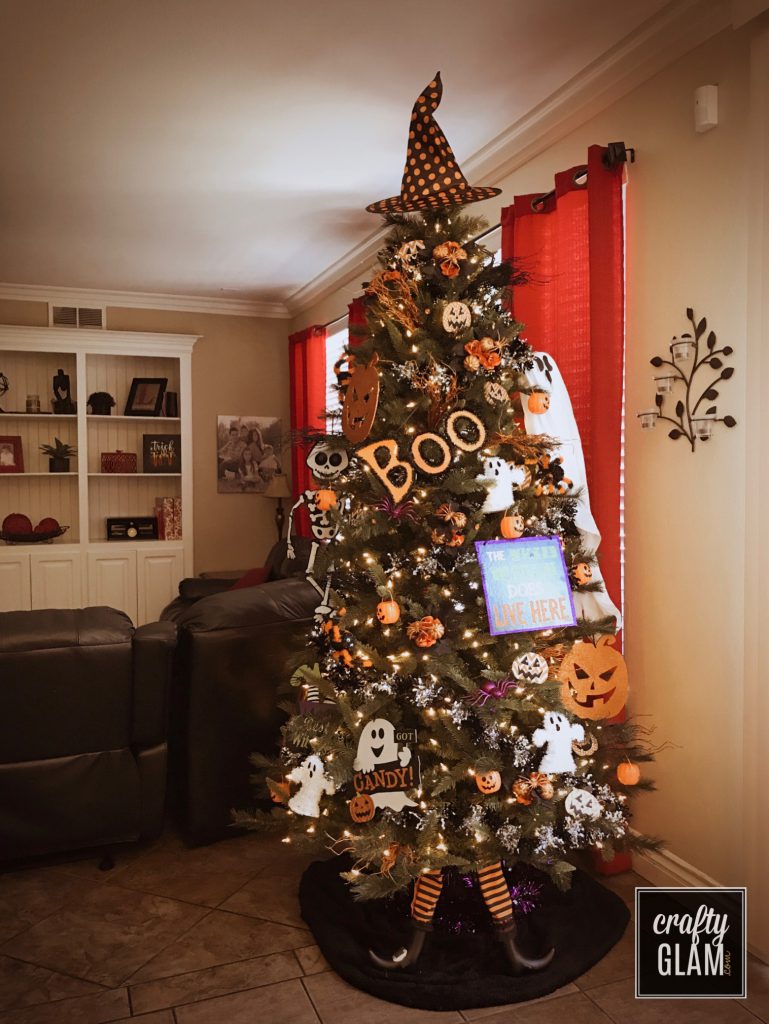
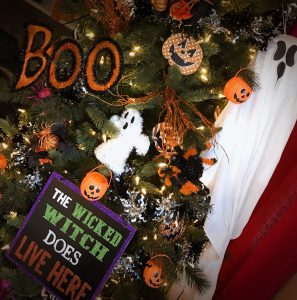
I was so excited to surprise the kids today with a new Christmas Tree (our previous tree ended up breaking after 6 years). They came home from school to see not only a new Christmas Tree, but one that was all lit up and decorated for HALLOWEEN!!! They were squealing with excitement!

We absolutely love the holidays, so why not bring out the Christmas Tree early and make it all fun and festive for Halloween, right?! Last year we put up the Christmas Tree after Halloween and left it up after Christmas to do a Valentine’s Day Tree. It was so much fun! This year I thought it would be fun to do something different. So without further ado …. here is our FUN and FESTIVE Halloween Christmas Tree!!!

Here are some close ups…


What do you think?! Have you ever decorated a Halloween Christmas Tree for your home?

How To Create Top Tab Dividers

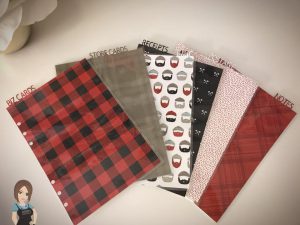
Have you ever wondered how you can create your own for your planner dividers using Cricut Design Space? Well, let me help you out. I created these cute Top Tab Dividers using the Close To My Heart Paper Pack called JACK. I love the look of them showing at the top of the planner, instead of the side.

Close To My Heart Jack Top Tab Dividers

I took some screen shots as I was creating that I hope you’ll find helpful….

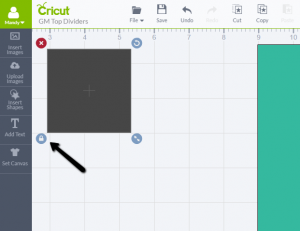
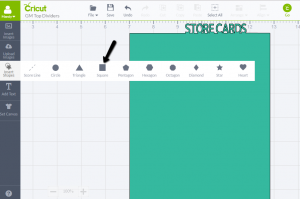
To get started you’ll start with a blank canvas in your Cricut Design Space and then you’ll select Insert Shape on the left side. Now select a Square as shown in the picture to get started with your divider.

Step 1 in Cricut Design Space

Next you’ll want to click on the lock button that is at the bottom left side of the square to unlock it. This makes it so you can manipulate the shape so it doesn’t have to stay a square. This must be done to turn it into a rectangle for your dividers.

Step 2 in Cricut Design Space

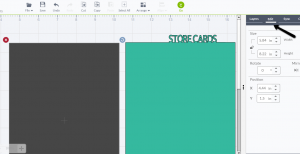
To adjust the size, you can either go to the Edit tab on the right side next to Layers or you can click on the arrows on the right bottom of the box and drag it until you get the size you’d like it.

Step 3 in Cricut Design Space

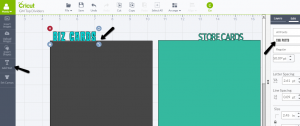
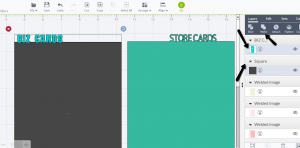
Now you’ll want to click on Add Text on the left side. Type the font that you want your tab to say. I used Biz Cards for this example. On the right side, you can click on the Edit Screen and then using the second drop down menu, you can scroll down and select a font you’d like to use. In the image below, I show 2 different fonts to show a variety. You’ll be able to pick from fonts that are saved on your computer or ones that are available for purchase or free through the Cricut Design Space Subscription. Then you can use the arrow on the bottom right of the font to drag it around and change the size. This can also be done using the Edit area on the right. You can even put the letters closer together or farther apart, stretch them taller or make them shorter. Those are all tools in the edit section.

Step 4 in Cricut Design Space

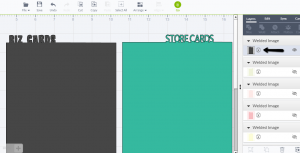
Here is where you’re going to merge the font and the rectangle together. This has to happen in order to print them out as one piece. To do so, you can either click on the font and while holding the shift button down you can click on the rectangle so that both are highlighted. Or you can click the 2 under the layers section using the shift button. Once both are highlighted, click on Weld. Once you weld them they will be 1 image and you wont be able to go back and edit the sizing of each individual piece (only as one piece now), so be sure you’re pieces are exactly where you want them before welding them together.

Step 5 in Cricut Design Space

Viola… now the color is all one and that means your image is one piece.

Step 6 in Cricut Design Space

Then you can just click on GO and print them out. I laminated mine with my Scotch laminator and then trimmed the edges leaving just a tiny space all around the outside. Then I used a A5 size hole punch to put the 6 holes in it. Easy peasy!

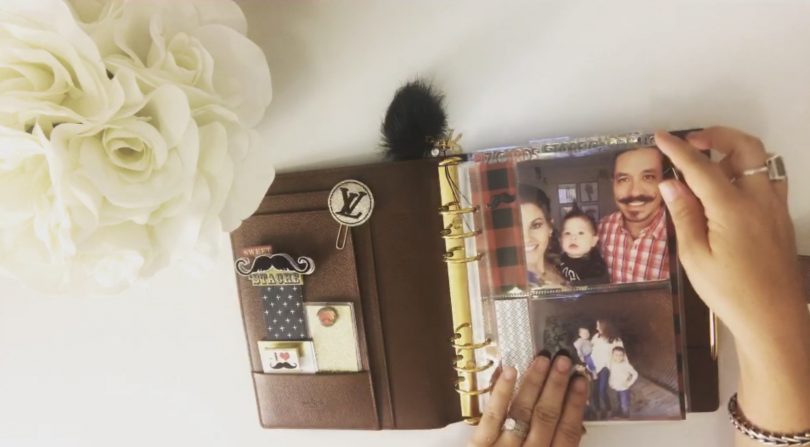
Here is a quick video to show you all how I’m currently using them in my agenda. I actually purchased this Louis Vuitton GM size agenda to use as a planner, which I did for several months. Now that I’ve recently switched to using my iPad Pro and doing digital planning, I wanted a way I could still get use out of this agenda and this was the perfect solution for me. Hope you like it!


Mandy Leahy

Welcome to Crafty Glam!

Hi! Welcome to my new website! I’m super duper excited about it! It’s still a work in progress but I couldn’t wait to get it live and start sharing projects on this new site for you all. My other website: www.MyPassionForScrapbooking.com will remain up and running. I’ll continue updating it and adding to that one as well. Although I still have a passion for scrapbooking, I always had wished I went with a shorter, more fun name. I had that domain long before I had thought about adding the long web address on business cards and before dabbling into other types of crafting aside from just scrapbooking. Soooo, I am starting with a fresh new site, a fresh new name and new branding…. Meet CRAFTY GLAM!!!

I hope you’ll check back soon to see my recent projects. Mandy Leahy